WTVCO
A 16-bit wavetable voltage-controlled oscillator. A selection of wave shapes are built in but custom waveforms can be loaded from an SD card. See below for file format requirements.
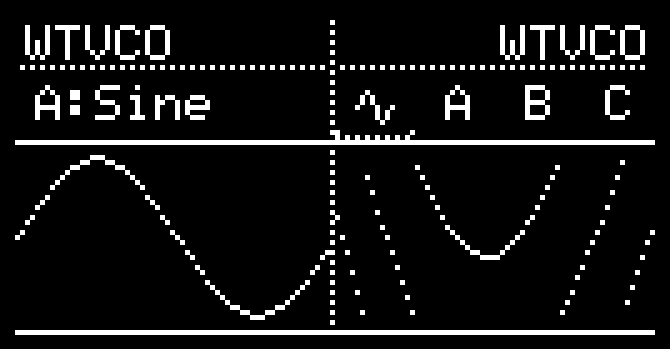
The visualizer shows the selected waveform. A, B, and C are the source waveforms and ~ is the output wave. Use the encoder to choose new source waves, or navigate past the last wave for adjustment and mapping of parameters like pitch tuning, wavetable blend, internal VCA level, and passthrough-mix.
As the core feature of the applet, CV modulation of the Blend parameter will change the shape of the output waveform. When Blend CV is 0V, the output will resemble waveform A, at the middle of the input range it will resemble waveform B, and at max input, waveform C. Any value in between will produce a proportional interpolation of the corresponding pair of source waves. CV beyond max input (use the virtual attunversion for an extra boost) and below 0 will result in “inverted-interpolation-overflow-wavefolding,” which is rad. Try it!
Parameters:
- Pitch - controls output frequency.
-
Note name: Indicates the closest note in a 12-tone chromatic scale (with A4 = 440 Hz). Changing the note name will change the frequency in semitone increments.
-
Hz: Allows finer grained adjustments of frequency.
- CV input modulates pitch offset using V/Oct standard.
- Waveforms are not bandlimited so toward the high end of the frequency range there are some interesting artifacts and aliasing effects.
-
- Blend - morphs output waveform proportionally between a pair of selected source waveforms (A/B or B/C).
- Blend can be adjusted by encoder, or CV input modulation.
- The Output Visualizer displays blended wave shape. A, B, and C visualizers show the respective source waves.
- Blend is also encoder-adjustable at the Output Visualizer page by selecting the ~ icon.
- The “Blendicator” above the waveform letters shows which pair of waves is being blended by the encoder.
- Duty - controls the width of the pulse wave.
- 127 = 50% (square).
- Future versions may phase-distort all waveforms, not just the pulse wave (if I can get it to work properly…)
- 127 = 50% (square).
- Level - regular ordinary volume attenuation, [dB].
- Free built-in CV-mappable exponential VCA
- Mix - passthrough mix.
- This is ALSO CV-mappable!
Aux Button Functions:
-
Noise Freeze - while the Noise wave is displayed in the waveform selection menu, toggles between “realtime” and “frozen” noise buffer.
- Random-Step Re-Roll - while the RandStp wave is displayed in the waveform selection menu, instantly re-randomizes the step heights.
- The steps are randomized each time the waveform is re-selected, but this shortcut prevents extra encoder movements.
- Custom User Waveform Selection - while the “User” waveform is selected in any of A , B, or C:
- Aux enables choosing which custom wave to load into that slot from the SD card. Each slot can use a different custom User wave.
Loading Custom Waveforms:
-
Directory - to load custom waveforms you must have an SD card installed in your Teensy 4.1, and there must be a folder named “WTVCO” in the root directory of the SD card. It may contain up to 256 waveforms.
-
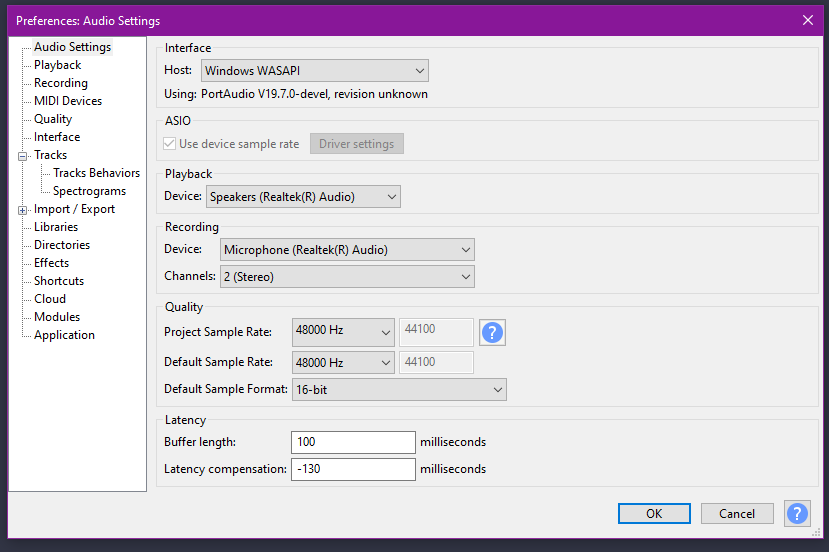
Generating / Converting Files - there are many methods you could use and plenty of applications which can generate or edit waveforms. You could generate them with code like Python using mathematical or other fun functions, or even have a chat bot build them for you nowadays, but my preferred method is to use Audacity, which is free and easy and available for all notable platforms, and is the basis for the following example:
- First, set your application’s sample rate to match the ORN8: 48 kHz
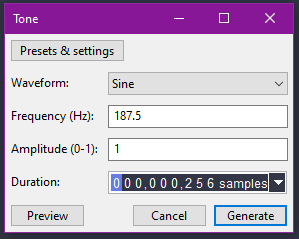
- Then from the top menu select Generate > Tone and set the frequency to 187.5 Hz (48000 / 256), Amplitude to 1 (default), and Duration to 256 Samples.
- Choose whichever base waveform you want, and garble with effects or whatever processing afterward.
- Alternatively select Generate > Silence (256 samples), and use the Draw Tool (F3), to draw your own waveform at the sample level.
- Only the number of samples is important in the waveform settings. The rest is “to-taste”.
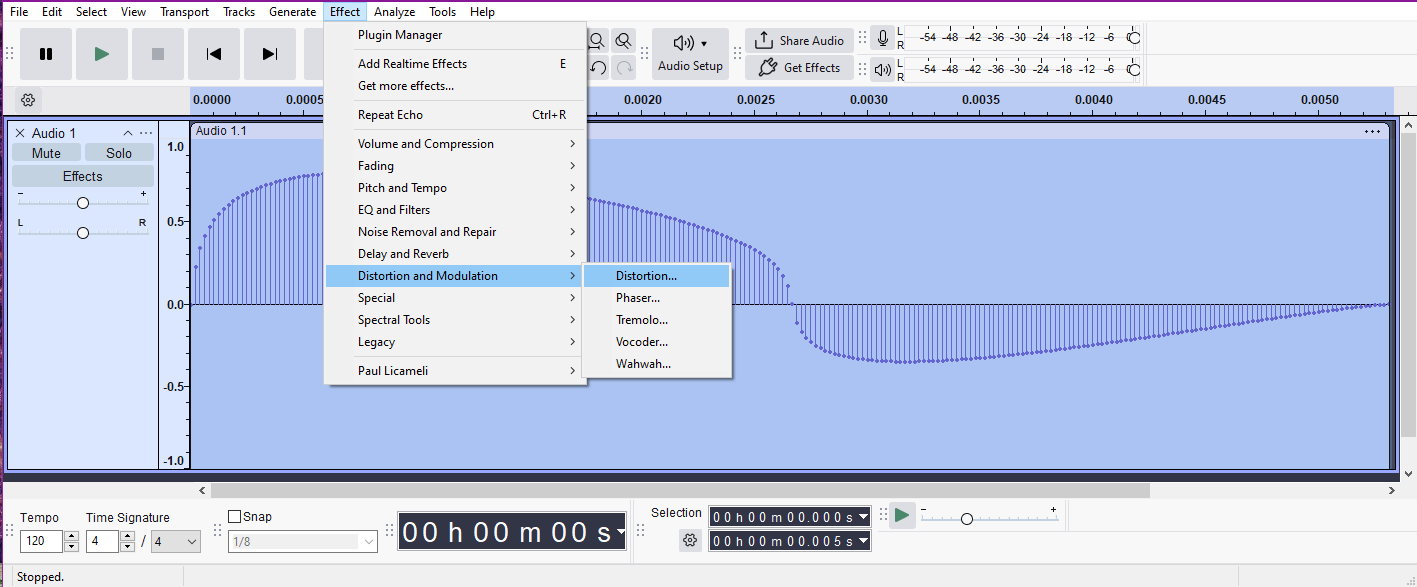
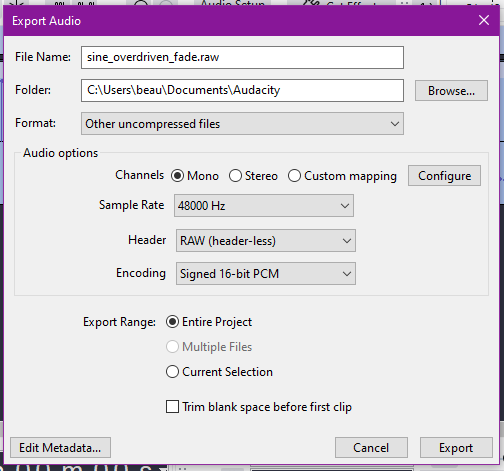
- After you are happy with your waveform, choose File > Export Audio and use the following settings:
-
File Format - the custom waveforms must be uncompressed, mono, 48 kHz, signed 16-bit PCM encoded, raw wave files.
- It doesn’t matter what you name your files, but the names will determine the order in which they are sorted in WTVCO.
- The extension does matter and must be .raw