Setup / About / Calibration

This screen shows some crucial info about your specific hardware and firmware.
- Press the LEFT Encoder to enter the Calibration routine
- Rotate the LEFT Encoder for a one-way ticket to “Reflash” mode
- Press the RIGHT Encoder to reset calibration & all settings to defaults - press RIGHT again to confirm (LEFT to cancel)
- Long-Press the RIGHT Encoder to get back to the main App Menu
Flipped Screen / Controls
(new in v1.8.3) Next to “Setup/About” you’ll see two arrows in the title bar. Up/Down indicates screen flip; Left/Right indicates controls & IO reversal. To switch it, dual-press the UP+DOWN buttons to toggle. Long-press Right Encoder to return to main menu and it will save; power cycle to take effect.
Notice: The calibration routine is agnostic of screen or I/O flip… DAC A and CV1 are addressed as if in normal module orientation.
Encoder Orientation
Depending on your hardware variant (and your personal preference), one or both encoders may need to be reversed. Enter Calibration. On the first page (or the last page), press either of the UP or DOWN buttons to select encoder reversal for L, R, both (LR), or neither (normal).
As of v1.8.3, if you change the encoder setting on the first page, you can still cancel and the setting will be saved when you return to the main menu.
Calibration Routine
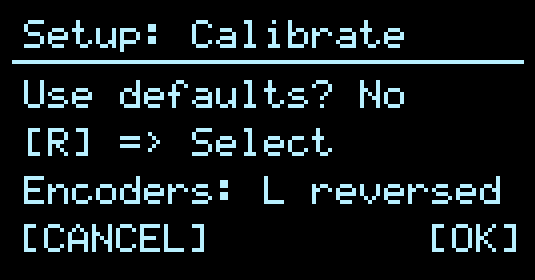
On the initial calibration screen, you can choose to start fresh or edit existing settings:
- Rotate RIGHT encoder to change (“Yes”/”No”)
- To edit calibration, select “No”, and press the RIGHT encoder (OK)
- To reset calibration to the defaults, select “Yes”, and press the RIGHT encoder (OK)
- Recommended for fresh builds
- Note: the displayed encoder reversal setting will not be disturbed
- App settings are also preserved when resetting calibration.
- To cancel, press the LEFT encoder (Cancel)
Pages
To change pages:
- Rotate the LEFT encoder to paginate, or
- Press the RIGHT encoder to go to the next page
- Press the LEFT encoder to go the previous page
To edit the current page parameter:
- Rotate the RIGHT encoder
Center Display
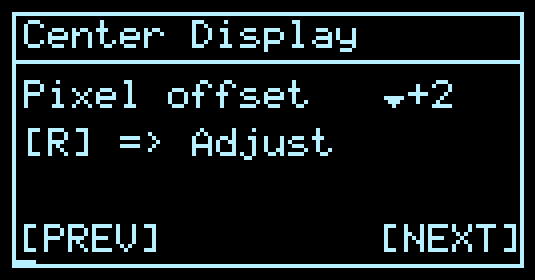
Horizontal pixel offset for centering the display.
DAC Calibration

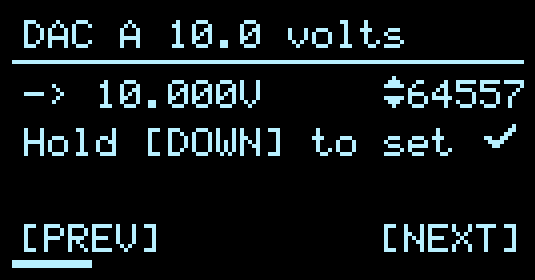
DAC calibration tends to be very linear. You only need to calibrate two values, low and high, and the firmware will interpolate in between and beyond. The low/high values are not necessarily the minimum/maximum for your hardware.
For each output:
- Measure the voltage with a precision multimeter
- Rotate the RIGHT encoder to calibrate - make the multimeter agree with the value shown
- Long-press DOWN (or B) button where prompted to calculate intermediate values for that channel - a checkmark will appear
After completing initial calibration, you can re-enter later and select “Start Fresh? No” to edit every individual DAC point for fine-tuning.
ADC 0V Offset
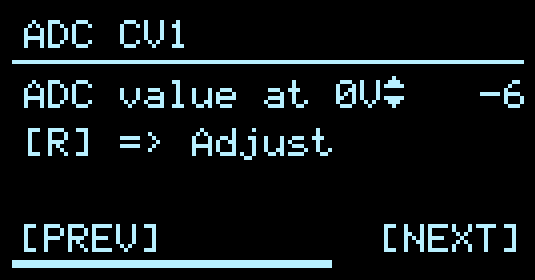
This adjusts the zero bias offset for each ADC input. With nothing connected to the inputs, the value should read around 0 (-1 < > +1).
The zero offset is determined automatically when you arrive at each page. You can re-zero using Long-press DOWN (or B), or fine-tune it manually with the RIGHT encoder.
ADC Scaling
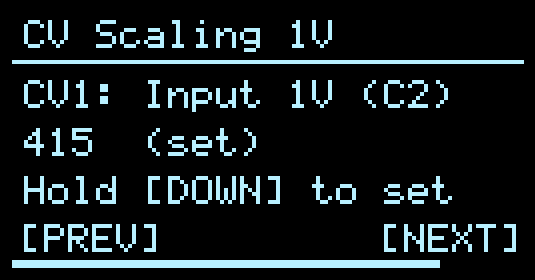
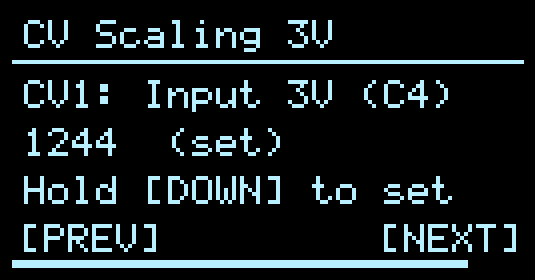
To calibrate scaling for the CV inputs:
- Connect DAC A to CV1
- on OCP hardware, make sure the attenuator is fully open (CW)
- Long-press DOWN (or B) button to set each point (1v and 3v)
Screensaver Timeout
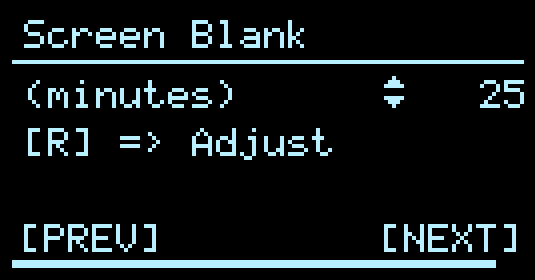
Sets the inactivity timeout in minutes for the screensaver or blank screen to appear
Complete and Save?
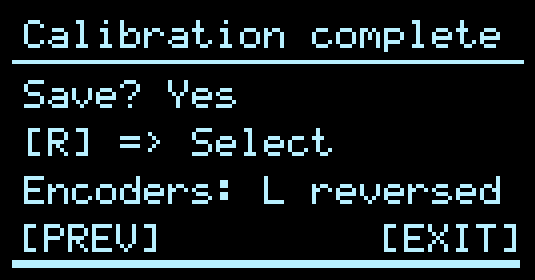
Final step - save and optionally adjust encoder direction
- Press UP or DOWN (A or B) buttons to cycle through encoder reversal for L, R, both (LR), or neither (normal)
- Select “Yes” to save and “No” to cancel; press the RIGHT encoder to exit
Hardware Validation
To verify proper calibration in Hemispheres/Quadrants, use the Voltage applet for outputs and Scope applet for inputs. You can also utilize the Meters screensaver in Calibr8or to quickly verify all CV inputs and Trigger inputs.
To verify MIDI hardware, use Quadrants, connect another device to each available interface, and Start the Clock on one device, verifying that it is received and forwarded out all other interfaces.
To verify Audio hardware, simply use Quadrants and send audio into each input - it will be passed through to the corresponding output by default.